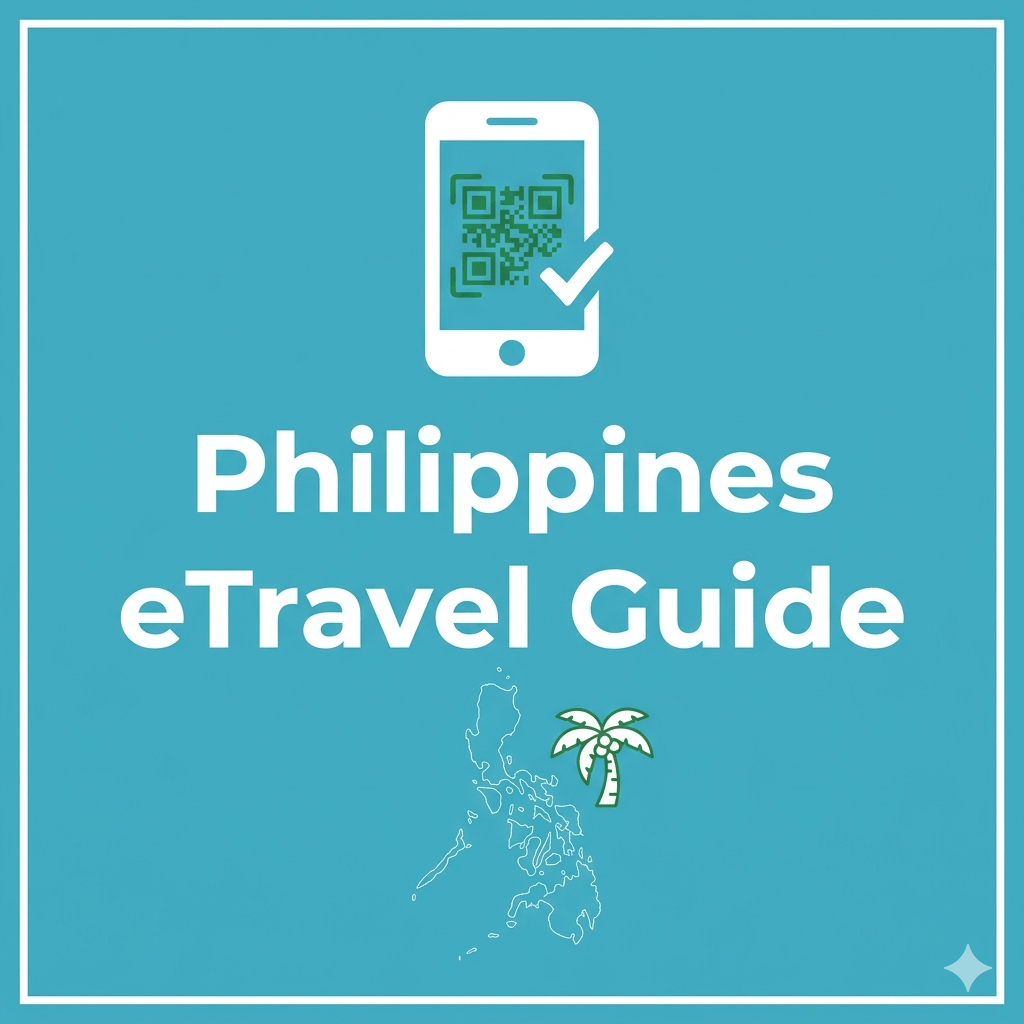
When preparing for a trip to the Philippines, paperwork is often the most stressful part. Gone are the days of borrowing a pen on the plane to fill out paper forms. Now, registering for the Philippines eTravel (Digital Entry Declaration) is no longer optional—it’s a must.
I remember being confused the first time I did it: “When should I register?” or “Do I need to do it for my kids too?” I’ve seen many travelers panic at the airport because they didn’t have their QR code and the Wi-Fi was down. In this guide, I’ve put together the most up-to-date eTravel registration steps and practical tips so you can breeze through immigration as soon as you land.
Table of Contents
- 1. eTravel Registration Timing & Essentials
- 2. Step-by-Step Philippines eTravel Guide
- Personal Info & Flight Details
- Integrated Health & Customs Declaration
- 3. Common Mistakes & Troubleshooting
- 4. Frequently Asked Questions (FAQ)
When Should You Register the Philippines eTravel?
To get straight to the point: You can register within 72 hours (3 days) before your scheduled arrival time in the Philippines. You won’t be able to select your date on the system if you try too early, so it’s best to do it 1–2 days before your flight from the comfort of your home.
I’ve seen people trying to do it at the check-in counter, but since boarding can be denied without an eTravel QR code, it’s much better to be prepared in advance.
- Passport (Must be valid for at least 6 months)
- Flight Information (Flight number and arrival city)
- Accommodation Details (Hotel name and address)
- Email Address (To receive your registration confirmation)
Step-by-Step Guide: Just Follow These Stages
When you access the eTravel website, you’ll first choose your nationality and purpose of travel. The most important thing here is that all information must be entered in English.
1. User Type & Basic Info
- Select User Type: Choose “Foreign Passport Holder.”
- Transportation: If you are flying, check the “Air” option.
- Personal Details: Ensure your English name and passport number match your passport exactly. One small typo can cause big delays!
2. Integrated Customs Declaration
This is the most important recent update. Previously, you had to fill out a separate paper customs form. Now, the Customs Declaration is integrated into the eTravel system. While a family representative can file a joint declaration, it is generally faster and more accurate for each person to have their own QR code.
Paper Forms vs. eTravel (Digital)
| Category | Old Paper Form | Current eTravel |
|---|---|---|
| Registration Time | On the plane or at the airport | Pre-register 72 hours before |
| Requirements | Pen, Passport, Ticket | Smartphone, Passport, Internet |
| Entry Speed | Manual document verification | Fast pass via QR Scan |
💡 [Pro Tip 01] Always Screenshot your QR Code!
Public Wi-Fi at Philippine airports (Manila, Cebu, Bohol, etc.) can be very slow or non-existent. Screenshot your Green QR Code as soon as you finish. You don’t want to be stuck at the line unable to load the website.
💡 [Pro Tip 02] Registering for Family
You can register for children or elderly parents using the ‘Add Family Member’ feature. Keep all screenshots on your phone so you can show them one by one to the immigration officer.
Conclusion
We’ve covered everything you need to know about the Philippines eTravel entry form. The key takeaways are: register 3 days before and save that QR code. It might look a bit intimidating since the site is in English, but it really takes less than 5 minutes. If you are traveling as a family, doing this in advance is the best way to avoid stress at the airport. Have a safe and amazing trip to the Philippines!
Frequently Asked Questions (FAQ)
Q1. Is eTravel registration free?
A1. Yes, it is 100% free. Any website asking for a fee is a scam. Make sure you are using the official government domain (`etravel.gov.ph`).
Q2. What do the different QR code colors mean?
A2. A Green QR code means you are good to go. A Red QR code means you might need to undergo a brief interview with the health bureau at the airport.
Q3. I made a mistake. How can I edit my info?
A3. You can use the ‘Edit Registration’ menu on the official site. Remember to save the new QR code after editing.